tips

The Craft Paper Look for Less

IMG_3873

The bride loved the sweet look of craft paper for an outdoor winery wedding but only needed 60 invitations and really wanted to keep a tight budget for invitations. We used Natural Savoy Cotton for a nice textured finish, very similar to craft. Most of our flat cards come on Natural Savoy and the envelopes are a perfect match. To create the small hang tags, I used a 4Bar card and set up the files with two cards that I could cut down after printing 30 originals. Tags_Front

I ran a DIY test print with various craft paper photos to make sure that the color was right and it really looked like craft (to non-designers who wouldn’t inspect the edge of the card to see if it was legit).

This solution is not for the purist, but it’s perfect for a quick turnaround, very affordable white-ink-on-craft-paper-look wedding suite.

IMG_3871

Do you need custom sizes in small quantities? We got you.

We know how designers like to create original everything so now we have an option for that. If you want a non-standard size in a flat, one-sided format in small quantities, our new DIY Sheet with Cutting is for you. DIY

Here’s how to set up files in Illustrator:

  1. Create a 12″ x 18″ document, either landscape or vertical.
  2. Add guides for the print area: 11.5″ x 17″
  3. Create artwork in desired sizes and fit into print area, place all pieces at 90 degree angles, we cannot cut odd angles.
  4. Make a square or rectangle in the size you want, select it, then go to Objects > Create Trim Marks.
  5. If you have color or images that bleed off the edge, expand them to go at least .125″ beyond the trim marks.

Tip: Leave at least a 3/4″ between pieces for best results.

Minimum: 25 sheets, $1.77 per sheet (if you have a wholesale account)DIY_after

DIY Sheets with Cutting is a great option for a set of odd sized cards, wedding place cards, custom sized postcards, disposable coasters and whatever else you creative types can come up with.

Beef up the bottom line with flat cards for the holidays

toolsMost of us creative types are all about the design, the message and the media. We aren’t crazy about the math, it’s usually not in a Top 10 priorities spot when we are brainstorming. Here’s the thing though, understanding the bottom line is kind of, you know, crucial. Flat cards from StationeryHQ are a great way to be well-compensated for your talent and efforts.

If you are a wholesale customer, a two-sided, full color, flat A7 card will start at  $.43 each. So for the sake of argument, let’s say you order 50 for a total cost of $21.50 + shipping. Flat cards on fine papers sell on major retail sites for OVER $2.00 each. That’s $100 for a set of 50, leaving you with $79.50 per order. Do 10 orders like that per week (pretty easy workload, right?) and you’re making about $3,000 a month without breaking a sweat. If you did the same number of cards/orders with folded cards, your margin would be closer to $2,000 per month and you had to work a little harder to set up the artwork. See how fun the math is now?

A few more $ tips:

• Requiring a minimum of 25 or 50 as opposed to 10 gets you more profit with exactly the same amount of work.

• Charge a premium for extras like rounded corners, still no extra work for you but a sassier product and better margin.

• Offer incentives for large orders, many customers will “order up” when they know they are close to a discount or promotion.

• Encourage your clients to order early to save on shipping costs. And so you can enjoy the holidays.

Cheers!

Foil continues to shine

You designers have made foil for online automated ordering one of our fastest growing categories. The rest of the world is still falling in love with this look so be sure to include in your 2015 holiday collection. Keep in mind that it takes 7 – 10 business days as opposed to 3 days to produce. Order early so you don’t have to stress about getting them out on time.

foildots

Silver foil on Natural Savoy. Boom.

Things to know when you are designing for foil:

– Foil reproduces best on smoother papers, if you want to use cotton or felt, keep it big and bold

– Make strokes 2pt or bigger

– Simpler, solid artwork will reproduce the foil best

– Comes in A7, A2 and 4bar

– File set up is a little different, check out file set up instructions, you’ll find them under the white card preview

Silver foil on Ice Pearl. Mmmm, so shiny.

Silver foil on Ice Pearl. Mmmm, so shiny.

Available foil colors.

Available foil colors.

Get your shine on and post your foil design pics on our facebook page so we can celebrate your sparkle

Production Time: what’s the deal?

Our customer service ninjas told me that they get a lot of questions about our turnaround and shipping time. In an effort to clarify the matter, I had to have a visual so I figured you creative types would prefer to be enlightened the same way.

SHQShip2


We guarantee 3 day turnaround unless otherwise noted (i.e., foil takes a little longer so it’s noted in the description on the site). We do NOT count the day that you upload your artwork and send in your order since they come at all hours of the day. Sometimes it happens even faster, we just want to make sure that you have a guideline to work with.

Variable Data Envelope Printing (I know, it’s about time)…

Variable Data Envelope Printing

We’ve had lots of requests for this service and we are finally able to make it happen through online ordering on StationeryHQ.com.

We are releasing this in A2 and A7 sizes initially. If we don’t have issues we will release A6 soon and will bring variable data to other products also.

To order envelope addressee printing, simply set up your addresses as follows:

1.    Create a multi-page, black or color, 7.25″ x 5.25″ document with each name and address on a single page for the A7 envelope. For A2 file size should be 5.75 x 4.375.

2. Save the file as a high resolution, multi page pdf file.

3. Upload the file.

4. Proof your artwork (you can view as many pages as you’d like).

5. Complete your order.

Go nuts with your typography. Once your file is ready, click here to get started.

Order Now

USPS: Cost-Ineffective?

The holiday season can be a stressful time of year. Not only are we hustling and bustling, but we try to stay within a budget to make sure that we cover everyone on our shopping lists.

As stationery and gift makers, we have to add punctuality to that mixture. Shipping with USPS helps to shave some extra expenses, but at what cost? Is saving a few dollars worth not giving your loved one’s gift on time? Is it worth the wait?

Everything boils down to the value of time. Unlike money, once it’s gone, it’s gone.

To help weigh the costs, I’ve placed two mugs and a canvas gallery wrap in my StationeryHQ shopping cart, a fitting gift for my grandparents. Upon checkout, I can choose from the following methods to ship to Fremont, California:

  • USPS Priority Mail 1-Day® ($8.20)
  • UPS Ground ($9.22)
  • UPS 3 Day Select ($12.98)
  • UPS 2nd Day Air ($16.76)
  • UPS Next Day Air Saver ($27.59)
  • UPS Next Day Air ($31.77)

I can spend $8.20 for USPS to ship it in “1-Day”; however, their reputation proves that “1-Day” may equal to “1-week” (or more).

Screen-Shot-2013-12-10-at-10.14.09-AM-300x133Screen-Shot-2013-12-10-at-10.15.45-AM-300x196UPS, on the other hand, delivers on-time with options for notifications of your package’s journey.

At a little over twice the cost of the USPS option, I am guaranteed to have my package delivered in two days. If Christmas were two days from now, I wouldn’t take that risk.

Would you?

Share your thoughts in the comments below!

Prepare Your Files for Custom Digital Printing

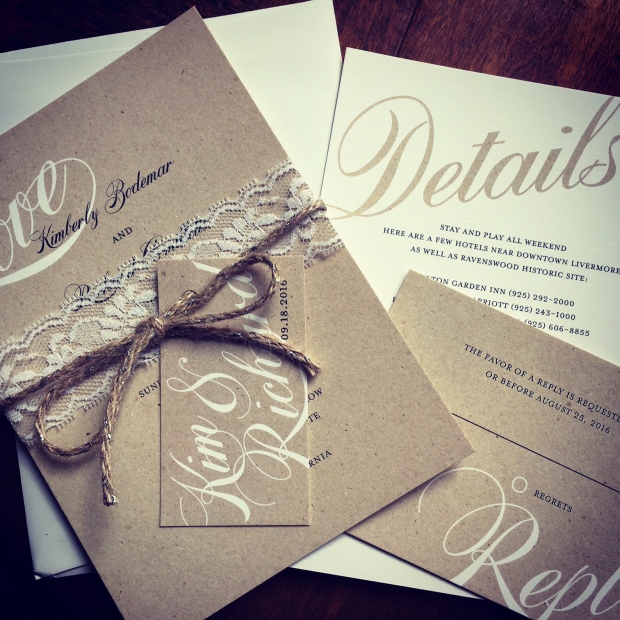
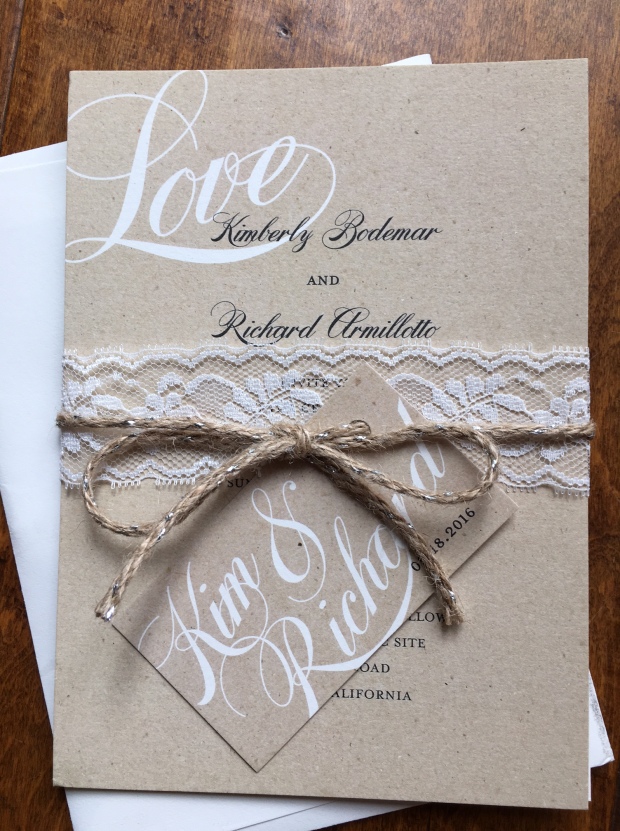
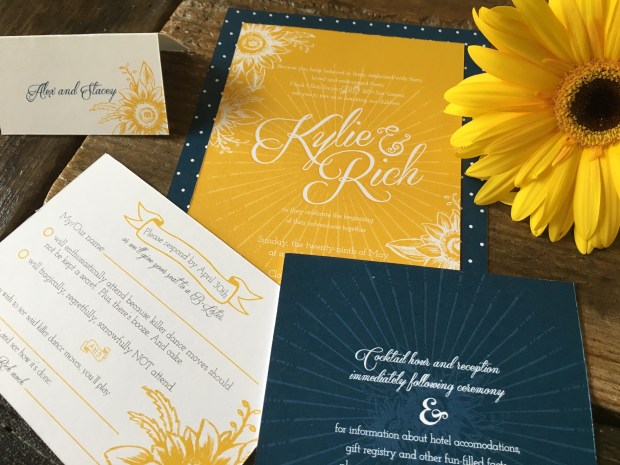
We receive a lot of questions from our customers regarding how to properly prepare and upload files to StationeryHQ to take full advantage of our digital printing services. Whether you’re creating custom note cards, customized greeting cards, digital letterpress stationery, wedding invitations or other personalized printed items, we can help you create high-quality products with your perfect design touch.

You can use our easy templates and online ordering system to create your own personalized designs. Want even more creative control over your custom stationery project? Not a problem. We can work with your unique designs, including die cutting, digital letterpress and more.

Whichever production option you choose, just follow these five simple tips as you prepare your files for digital printing to ensure your personalized paper goods are printed exactly the way you want them—every time.

Upload-1024x790

1. Sizing your artwork for digital printing. Make sure your file includes a bleed area on all sides. StationeryHQ requires at least 0.05 inches of bleed (0.125 inches is preferred) on each side to allow for trimming. Even if your project design is unprinted on all four edges, your production file should still include a bleed area.

2. Setting colors for proper printing. Convert all colors to CMYK—including PMS, spot colors and RGB—and make sure your document mode is set to CMYK. Please specify flat black (C=0, M=0, Y=0, B=100) instead of rich black. Any heavily saturated color should be under a combined CMYK value of 240.

3. Including your fonts. To ensure that your custom stationery project prints perfectly on our digital presses, please embed or outline all fonts.

4. Preparing file set-up. Don’t add “printer’s marks” such as crop marks, bleed marks or color bars. These will increase the document size, and you will not be able to upload your file, or your project will print incorrectly.

5. Saving a document for digital printing. Always save your document as PDF/ X-1A. This will flatten all the file layers correctly for our presses.

Our customer service team is available to help if you have any questions about preparing your project files for digital printing. Please contact [email protected] for assistance.