Here’s the 411: Printing is flat like a pancake. If your pancake isn’t flat, it won’t cook right. The same goes for printing! To ensure your file prints correctly, you gotta turn it into a pancake by flattening any transparencies it may have. Transparent objects cause problems in digital printing, so it’s best to get rid of ’em before you even start.
Here’s what you do:
1. Open file in Adobe Illustrator
2. Select all (of the design)
3. Go to top menu bar and choose Objects, then scroll down to Flatten Transparency
4. A new window pops up. Choose High Resolution and click Ok to save
BOOM, pancake city!
Something to remember:
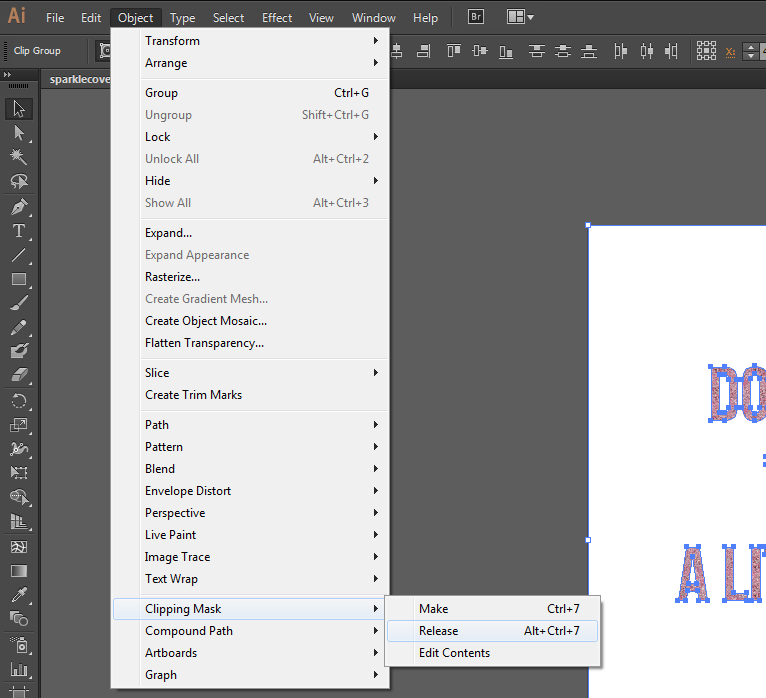
The artwork may be grouped together or may have clipping masks. If it’s all stuck together like a stack of old pancakes, you’ll need to ungroup them or release the clipping mask(s) to flatten it. There may be more than one clipping mask, so you may need to do this more than once.
You can also release clipping masks by:
* PC: right click > Release Clipping Mask
* Mac: select option+click >Release Clipping Mask
Here are a few screen shots of where to find the steps in the menu bar:
Select All:

Release Clipping Mask:
Flatten Transparency:

Window that comes up to Flatten Transparency:

And you can always refer to the StationeryHQ File Setup Guidelines to see the rest of the important deets!
