invitations

White Ink on Colored Envelopes, yea baby!

We are pretty sure you are going to love this option as long as you know how to set up your files for print. For now we are only printing addresses on the front of the envelope, stay tuned for addressing + back flap – we are working on it!

For variable data with white ink:

1.    Create a multi-page, 7.25″ x 5.25″ document with each name and address on a single page for the A7 envelope.

2. Create a new swatch called SpotColor_White. This example is in InDesign.

screen-shot-2017-02-28-at-9-11-06-am

3. All artwork, including each name and address should be assigned SpotColor_White.

screen-shot-2017-02-28-at-9-35-55-am

NOTE: WE DO NOT PRINT BLEEDS ON ENVELOPES, MAKE SURE YOUR ARTWORK IS AT LEAST .25″ FROM ALL EDGES

4. Save the file as a high resolution, multi page pdf file.

5. Upload the file.

6. Proof your artwork (you can view as many pages as you’d like).

7. Complete your order.

Order your White Ink Variable Data Envelopes today!

img_5359

The Craft Paper Look for Less

IMG_3873

The bride loved the sweet look of craft paper for an outdoor winery wedding but only needed 60 invitations and really wanted to keep a tight budget for invitations. We used Natural Savoy Cotton for a nice textured finish, very similar to craft. Most of our flat cards come on Natural Savoy and the envelopes are a perfect match. To create the small hang tags, I used a 4Bar card and set up the files with two cards that I could cut down after printing 30 originals. Tags_Front

I ran a DIY test print with various craft paper photos to make sure that the color was right and it really looked like craft (to non-designers who wouldn’t inspect the edge of the card to see if it was legit).

This solution is not for the purist, but it’s perfect for a quick turnaround, very affordable white-ink-on-craft-paper-look wedding suite.

IMG_3871

Do you need custom sizes in small quantities? We got you.

We know how designers like to create original everything so now we have an option for that. If you want a non-standard size in a flat, one-sided format in small quantities, our new DIY Sheet with Cutting is for you. DIY

Here’s how to set up files in Illustrator:

  1. Create a 12″ x 18″ document, either landscape or vertical.
  2. Add guides for the print area: 11.5″ x 17″
  3. Create artwork in desired sizes and fit into print area, place all pieces at 90 degree angles, we cannot cut odd angles.
  4. Make a square or rectangle in the size you want, select it, then go to Objects > Create Trim Marks.
  5. If you have color or images that bleed off the edge, expand them to go at least .125″ beyond the trim marks.

Tip: Leave at least a 3/4″ between pieces for best results.

Minimum: 25 sheets, $1.77 per sheet (if you have a wholesale account)DIY_after

DIY Sheets with Cutting is a great option for a set of odd sized cards, wedding place cards, custom sized postcards, disposable coasters and whatever else you creative types can come up with.

Foil Stamped Stationery: Can’t get enough shine.

RoseGold
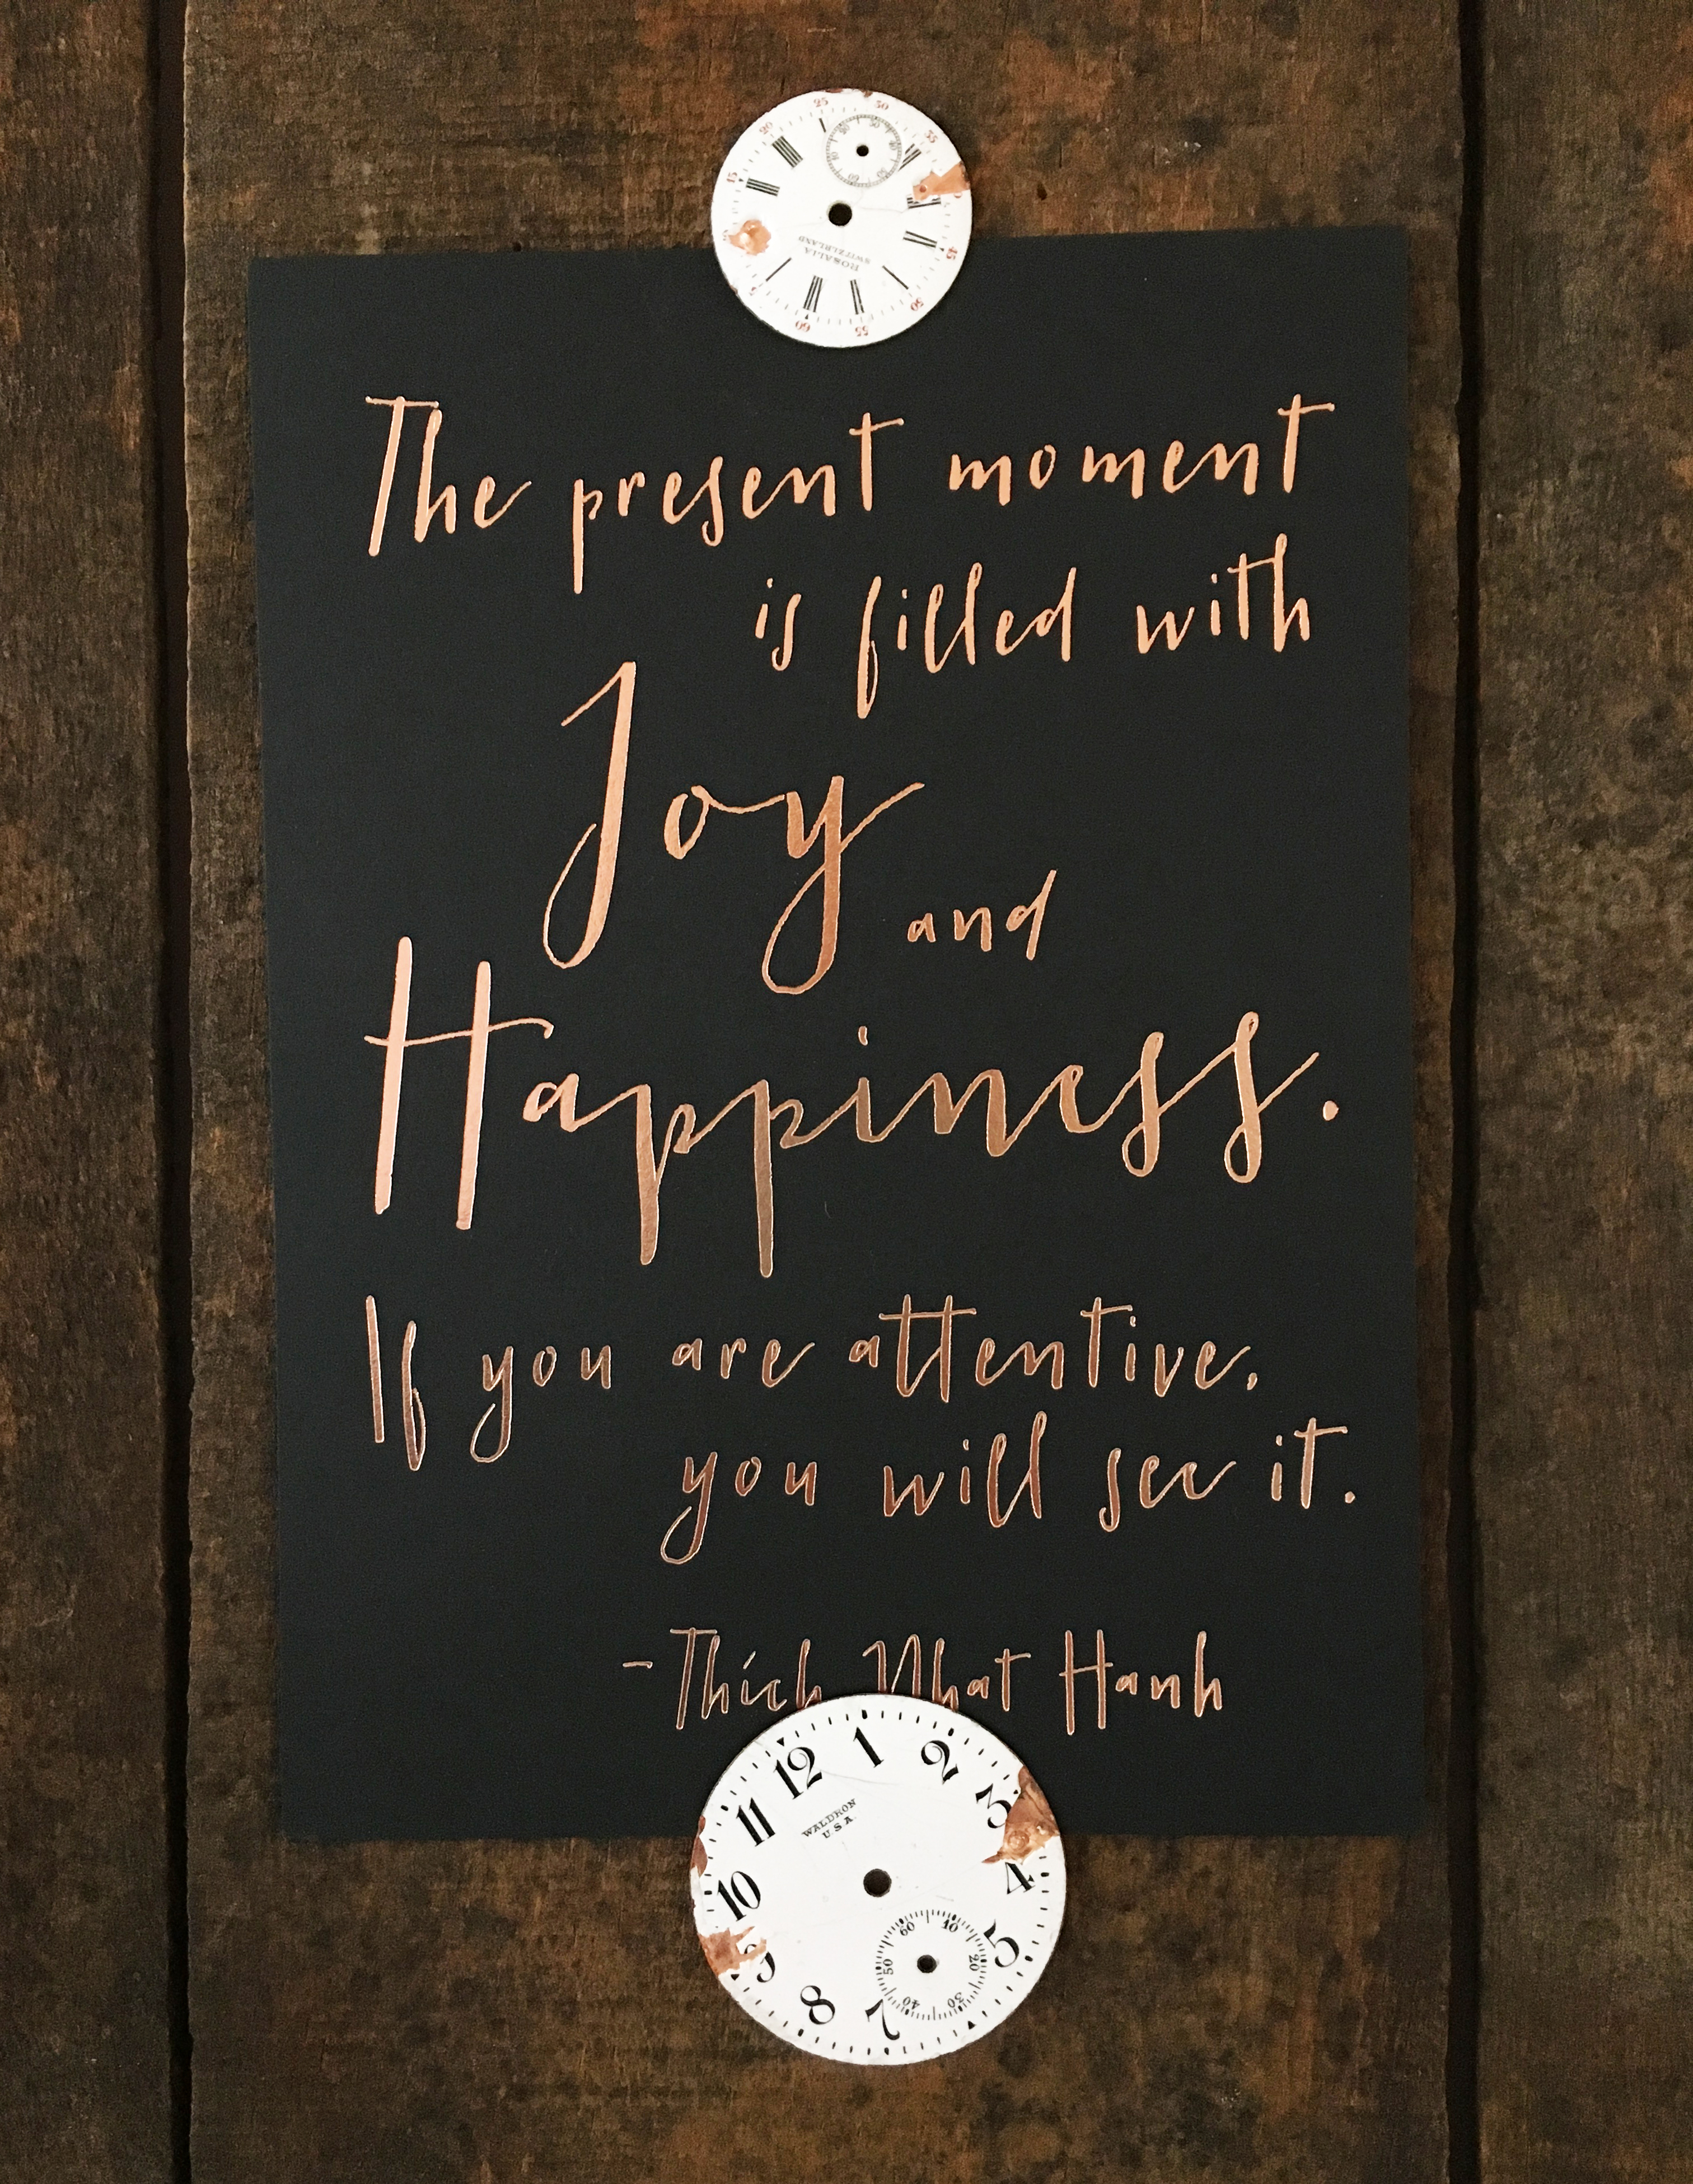
Yep, we added more foil stamping color options on StationeryHQ.com because we know you’re obsessed. And so are we. You can already order foil with digital printing through our website. Now you can order foil on A7, A2 and 4Bar size without digital printing on:

  • 130#/21pt Environment Wrought Iron Raw Cover
  • 130# Classic Crest Smooth Cover – Epic Black
  • 130# Classic Crest Smooth Cover – Patriot Blue

And since Rose Gold Foil is a smokin’ hot trend, we added that too. Other colors include festive Red, Matte Gold, Metallized Gold, Matte Silver, Metallized Silver, and Copper Foil. Foil stamping is perfect for wedding invitation suites, save the dates, small art prints and party invitations. Turnaround time is about 5 business days, find pricing here and don’t forget to log in so you see wholesale prices!

Shout out to Brit Tucker for generously sharing her totally fabulous typographic genius with us – thank you!

Focus on Baby, Stationery’s sweet spot

Who doesn’t LOVE to design baby stuff? Announcements, invitations, personalized gallery wraps, art prints, thank you cards, party ware… there are so many opportunities to wrap yourself in babyness and help a mother-to-be celebrate the impending center of her universe. Announcement

Here’s a fun pinterest board that will suck up your time and make you want to have a(nother?) baby. Or maybe it will inspire you to design more baby stuff to offer. It’s also full of fun ideas for designed paper products.

This design, by my sidekick at Simon+Kabuki, has the potential to sell for many thousands of dollars based on our past experience. Baby related stationery has been our best source of income for all the years we’ve been in the business. And it doesn’t only happen for a couple of months of the year, it’s a constant revenue stream.

First birthdays have become huge celebrations for many families and a new mom who loves your style will go back to you for her big life events for years to come. Don’t forget to design matching thank you notes for each announcement or invitation in your collection, you’re making it easy for a busy mom/mom-to-be.

Should you be using Illustrator, InDesign, or Photoshop?

We are frequently asked by designers, “Should I be using IllustratorInDesign, or Photoshop?”

Normally, we would urge them to use the tool that they are best and most familiar with. After all, you can do the similar things in all of the programs and achieve very similar results. However, there are some key differences between the three that can affect how your artwork will print.

While Photoshop is an amazing tool for image and color editing, it can present printing challenges when it comes to wedding invitations, birth announcements, and other fine stationery. The reason for this is because it is a pixel based program. From a distance, you may not notice this. But if you zoom in, you will see that your letters and designs are built pixel by pixel. For the finer details, it can be very noticeable.

Illustrator and InDesign, on the other hand, work with shapes, called vectors. Vectors are based on mathematical curves (oh boy…), and because of this, it doesn’t matter how big or small they are. The shape will always remain crisp.

Screen Shot 2014-03-17 at 5.21.52 PM

Comparison of an Illustrator PDF vs a Photoshop PDF

We (and our competitors) produce through digital printing, which is not as high resolution as conventional offset printing. Most of the time, you wouldn’t be able to tell the difference; however, digital printing tends to have more trouble with small or thin text. Our digital presses print with dots instead of actual lines, and when the text gets too thin, the dots just can’t do a good job of replicating what it looks like on screen. Because of this, it is even more important to make sure your files are created in the best quality possible.

If you were to create and save a design in Illustrator, then save the same design in Photoshop, and then print them both on the same sheet, they would actually appear different. Illustrator outputs vectors and then the press changes it to dots. Photoshop creates dots (pixels) and then the press creates different dots. It is more reliable to count on the vectors to be converted into dots than pixels. Hopefully this makes sense.

Of course, for many designs this might not be a big deal, but when it comes to time crunched wedding invitations for a bridezilla, do you want to take any risks?

Long term, we really recommend adding Illustrator or InDesign to your toolbox for an optimal printing experience. We believe that this will help to make your customers happier.

Jaimie

Let Your Design Shine

Need a little “glam” for your next piece? In case you didn’t already know, we offer foil stamping in an assortment of colors to add that special shine. Here are a few words from Red Pearl Designs:

The foil printing turned out beautiful! I was extremely impressed with the quality and fast service I received from StationeryHQ. Thank you for the great work!

RedPearlDesigns_image_201312-300x207

So, what are you waiting for? Let your design shine now.

Customer Feedback Is Always Welcome

Whether it be good or bad, customer feedback is always welcome here at StationeryHQ. When it’s a good comment sharing the joys of a successful job, we want to share our happiness with you, too!

Here’s a lovely email that we received from Alisa:

Hi StationeryHQ,

I am a frequent customer and just want to let you know how pleased I am with the quality of products and also exceptional customer service.

I have had a batch of wedding invitation clients recently who had lots of requests for custom pricing on offline orders and it seems I have been flooding Jack’s inbox almost daily with questions and pricing requests. He has been so thorough and prompt and taken such good care of me (despite the fact that NSS is almost here and I’m sure everyone at the company is extra busy!) that I just had to write and let you know how grateful I am.

So this is just a quick note to say THANK YOU to everyone at StationeryHQ! Ya’ll are killin it. I’ll be sure to stop by the NSS booth and I hope to be able to say thank-you in person, but please do pass this on to everyone since I know it takes a village.

Gratefully,
Alisa B

Thanks, Alisa, for making us smile. We strive to make every customer experience the best that it can be.